hi friends! er, are you guys still my friends? i know i haven’t written here in…(goes to check when last post was published)…8 months. GOOD LORD HOW TIME FLIES! i’ve spent the better part of this year not blogging, and for the few of you that cared for my long-winded rambling, i’m sorry about that! i’d like to say i can promise i’ll be better, but clearly, i’m not very good at keeping that promise.
here’s the truth: i do miss writing. it’s just that often an idea for a post pops up while i’m sitting in the bathtub, or bored in a meeting, or riding my citibike up and down the east river. and i’ll think to myself, hey, i should write about that. and then i get home and it’s on to the next thing, and poof! the idea is gone. the motivation is zapped. working in advertising, where writing is my day job–well, there’s nothing like working at a computer all day long to make a girl not want to open a computer when she gets home.
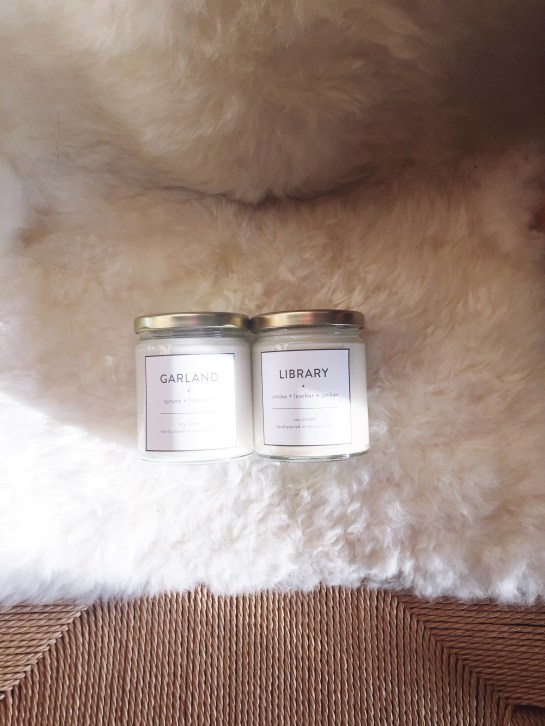
this isn’t an excuse, but it is the truth. ANYWHO, i really do want to tell you all about the candles i made recently, because, well, they’re super cute and they smell pretty damn good and most importantly, TIS THE SEASON OF GIFT GIVING aka spending too much money on silly things that no one needs.
don’t get me wrong: i LOVE the holidays. and i love nothing more than a really great gift. i’m of the mindset that presents should be the kind of silly everyday luxuries that friends and family would never buy themselves: a facial. a pair of ultra cozy slippers. that really pretty brass coffee spoon that no one needs but is so pretty to look at.
you know what fits really well into that category? ding ding ding, you guessed it! candles, my friends! i love nothing more than giving (or getting!) a really nice candle. now, i’m not talking about bath & body works, or yankee candle. no shame in the YC game, but those babies are too strongly scented for me. i’m talking about illume, pf candle co, anything and everything in anthropologie’s candle section, or, if you’re fancy, diptyque (bury me in baies, please). all of the above are lovely options for gifts – but if you’re buying more than one, they start to add up.

that’s where making your own comes in. now, i know what you’re thinking: gee, sarah, that seems complicated. but i promise you, it’s really not. the hardest part is waiting for them to cool (because if you’re anything like me, you want them to be done and smell amazing RIGHT AWAY).
OKAY LET’S DO THIS!

what you’ll need:
- a glue gun (i ordered a relatively cheap one off amazon) and matching glue sticks
- a big pot to boil water in (your wax pitcher will go in here)
- candle pitcher (to melt your wax in/pour it out of, so you don’t ruin an actual pot)
- clothes pins (they help keep your wick straight/in place!)
- jars and lids (i order these and these from candle science; they have many a jar/lid option!)
- soy wax (also from candle science, where they ship it in 10lb bags)
- phthalate-free fragrance*, if you want scented candles (candle science yet again! they have a million scents, go wild! i buy the 1oz bottles)
- candle wicks (also from candle science, i get the 6″ pre-tabbed eco wicks, which burn well with soy wax)
- scissors (to trim the wicks)
- labels (if you want to get fancy, more on that below!)
*phthalates are yucky, bad for you, cancer-causing chemicals that are in many a fragrance and fragrance oil. regardless of where you buy your fragrance oils, you want to ensure they’re phthalate-free. most of the ones from candle science are (and i do not buy or use any that aren’t). you could also use essential oils, but those are a) more expensive and b) don’t necessarily come in every scent under the sun. that said, i may try using solely essential oils next year.
a few notes before we begin:
- i like to make a few different scents, so i do the process below a few times, thoroughly washing out my candle pitcher in between so that no fragrance lingers. each batch makes about 3-4 candles. if you were only making a few candles, or you wanted to make 10-12 of the same fragrance, you’d melt way more wax at once than what i’ve captured below.
- if you’re mixing fragrances (i do this for all of my candles, ie, for one batch, i mixed orange blossom with a smoky, fireplace-y scent), figure out your combinations ahead of time. when it comes time to add fragrance, it happens quickly, so you’ll want to be ready to go.
- i am no professional! i wing it every step of the way – in my mind, that’s the fun of DIY – from how much wax i melt at a time to how much fragrance i put in. if you want to get SUPER technical, there’s lots of great info on the candle science website.
- you can make candles in just about any vessel. get creative! in the past, i’ve made them in antique tea cups, ball jars, soup cans, etc. anything that can hold a liquid can likely hold wax.
- weather can affect your candle-making – high heat/humidity, in particular, means your candles won’t harden as well/you may experience air bubbles. if possible, do this in cooler weather/have the AC going.
what you’ll do:
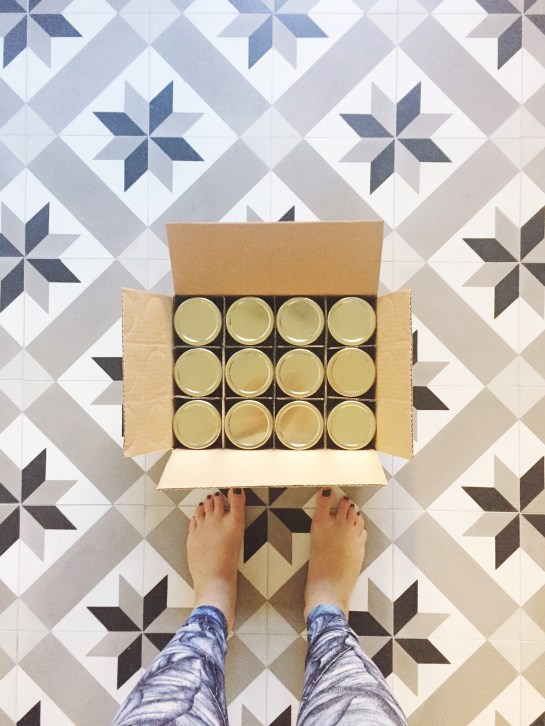
first things first: order all the above. unpack it, and set it all up on your counter/table/somewhere that’s close to your oven. once your wax is melted, you’ll be moving fast.
step 1: attach your wicks

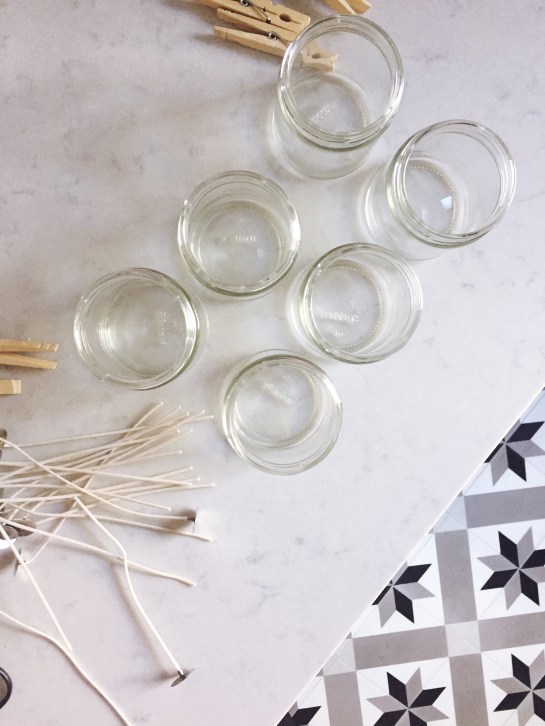
set up all of your jars, and pre-heat your glue gun. once it’s warm (a little bit of glue will dribble out. ew that sounds gross. you know what i mean!), get to work. grab a wick, and add a dot of glue to the bottom of it. immediately press it firmly into the bottom of your jar. i like to press the edges of the metal park of the wick down with a spoon, just to make sure they’re realllly stuck in there. this ensures that your wick won’t float up and away once you pour the hot wax in. repeat with the rest of your jars. let cool for about 10 minutes (the glue dries fast).
**NOTE: to keep your wicks in place, i recommend threading them through clothes pins, as you can see in the photo above. this helps keep them straight and steady once you pour your wax in. you don’t have to do this, but it helps.
step 2: melt your wax
now the fun begins! heat a little water in your large pot. you want it to just reach boiling. don’t fill the pot – you’ll be placing your metal pitcher in there, and if you do, the water will overflow. if you’ve ever used a double boiler, or melted chocolate, this is a similar process.
scoop a few cups of wax into your metal pitcher – it will go into the pot once the water boils. i eyeball this, but it’s likely about 3-4 cups of wax at a time. the flakes melt down pretty quickly, and it’s easy to add more if you’re making a larger batch of a given scent.
put the pitcher into your water, and turn the heat down to a simmer. you want it to be hot, but not boiling over. think of it as a nice hot bath for your wax pitcher. you want things to melt, but not boil.
within a few minutes, the wax should melt, turning from white flakes into a clear, golden liquid (not that kind, gross).

step 3: add your fragrance
once your wax is melted, turn off the heat, and wait a minute or two. you’re just giving the wax time to cool ever so slightly before you add your fragrance oils. now, grab your fragrances. i usually mix two or three (with the combinations chosen ahead of time). unscrew the caps, and add a few drops of each. again, i wing it – but if a particular fragrance is really strong, or i just want a hint of it, i may just do one drop of that one. use your best judgement. either way, know this: you’re doing DROPS. like, 1/8 of a tsp, eye-balled. do not go pouring multiple teaspoons of fragrance oil into your wax. this stuff is STRONG.

step 4: pour your candles
you’re almost there! now it’s time to pour the melted, fragranced wax into their vessels. at this point, your wicks should be attached to their jars, and fully cooled. hopefully you’ve got the clothes pins keeping the wicks in place, too. line your jars up on the counter, and pour, baby, pour! fill each candle to just below the top rim (see photo below for reference). made too much or too little wax? that’s okay – you can make a bit more of a given fragrance combo. just make a little half-candle for now, and then melt a bit more wax/add the same fragrance to top ‘er off.

step 5: let your candles cool
this is the hardest part for me. at this point, i’m super excited, i want to smell them all, light them all, shout my accomplishment from the rooftops…you get the idea.
but now, we wait. i generally let my candles cool overnight. within an hour, they’ll start to harden, and you’ll see the golden liquid turning back into the hard white wax it was in the bag.
as your candles harden, you may see little divots at the top–spots where the wax has caved in. if this hurts your heart (it does mine), simply melt a little extra and fill the hole in. it’s like when you smudge your polish at the nail salon – a little extra polish, some fresh top coat, and you’re good to go.

step 6: the finishing touches
by the next day (at least 12 hours), your candles should be cooled, and ready to go! at this point, you can take the clothes pins off, and trim your wicks so that they’re about 1/4″ long. if you’ve purchased lids, now’s the time to screw them on. if you’ve got labels, go ahead and add them.
a note about labels: i’m lucky to have very creative friends as coworkers, and they’ve helped me design mine for the past few years. however, all you really need to make a label is sticker paper – you can handwrite them, or design them on the computer and then print them out. mine were created in indesign, then printed out and cut with regular old scissors. nothing fancy!
and that, folks, is all she wrote. so, tell me: what are your questions? what’s still unclear? would you want to see this in an instagram story (aka, on video)? leave me your thoughts here, or on instagram. i can’t wait to hear from you!

 well, friends, we made it! it’s holiday season! and if you’re anything like me, you’re in FULL ON GIFT MODE. i know some people find holiday shopping tedious, but i quite like it. maybe that’s because i love shopping, period – but to me, there’s nothing better than a really great gift.