well, friends, better late than never, right? way back at the beginning of this summer, when i first introduced you to allie’s house (known on the ‘gram as #alliesetownhouse), i asked you what questions you had about the project, figuring i’d start off with a giant ol’ FAQ post.
obviously, that post didn’t come to fruition. at least, not right away. BUT, before we dive into the install stage of things, i want to talk about the basics. as i said, better late than never!
let’s get down to brass tacks, shall we? here’s a sampling of what you guys wanted to know about allie’s house.
where is the apartment/your sister’s house/is it NYC? allie lives on the top floor of a two-family house that my parents bought about 5 years ago in easthampton, massachusetts (the town next to my hometown!). easthampton is a bit more “up and coming” and therefore, less expensive than northampton (where we grew up and where my parents still live). the home was purchased as an investment property.
does she own the bottom floor too? allie rents the top floor (yes, my parents are her landlords. yes, that is complicated.), and they rent out the bottom floor. the first year they owned the home, my BFF joia and her husband lived in the bottom floor (!!), now, it’s rented out to a local woman who is around my age. the home was built in the early 1900s (i think? maybe 1920?), so there’s charm to be found here and there. it was initially a single family home, but was turned into a two family by the previous owners, who lived on the bottom and rented out the top. there’s a large unfinished attic that i’m DYING to have my parents renovate (master suite! with a clawfoot tub! OBVI), and the house is pretty large overall, but there are certain layout things that i’d fix if we could.
are you renovating it? we are not. my parents did a few light renovations (allie’s bathroom, for one) when they bought the house, but that’s it. the downstairs kitchen was renovated in the 90s (i think), but allie’s hasn’t been in some time. the layout is SUPER wonky, the cabinets old, the floors linoleum, etc. i’m dying to gut it, but that would take money that my parents don’t want to pour into a rental property at this time (it’s perfectly functional, with updated appliances, as of now). this particular project is a redecoration, not a renovation.
what’s your process? do you plan and then find furniture, or find furniture then plan? a little bit of both! i definitely had a vision for how i wanted the space to look and feel (light, bright, simple, airy, modern, less cluttered, comfortable), but i started with furniture. more specifically, i started by searching my favorite affordable online shops (cb2, urban outfitters, target, article, west elm, wayfair, etsy, etc.) and pinned the SHIZ outta things. then, i began assembling design boards with my various options (one for the bedroom, and one for the living/dining area), swapping items in and out until things felt right. once we all felt good about the design plans (me and allie, as well as my parents, who have kindly offered to sponsor the makeover–more on that later!), i began ordering.
what’s your budget? $4k for the entire place. as briefly mentioned above, my parents are kindly sponsoring this makeover. i have been keeping detailed budget spreadsheets that i’ll likely share at a later date, so you can all see exactly how that $4k nets out across the various spaces (it doesn’t go as far as you’d think when you’re effectively starting from scratch, furniture-wise). those who have been following along/reading here for a while may recall that my parents helped me buy my place (they gave me a lump sum that i used for my down payment and my renovation; i have a 30-year mortgage for the rest).
i would not call my family rich, but that’s all relative, and most certainly in the eye of the beholder. what i will say is that my parents have worked really hard for their entire adult lives, and are very smart savers and investors. they also grew up solidly upper middle class. this has resulted in allie and i being able to go to college with minimal loans, and never once having to worry about the roof over our heads or the food on our plates. we are incredibly, amazingly lucky. while i don’t consider us spoiled brats, we have certainly been afforded opportunities that others have not.
in short: we are privileged to have grown up the way we have (and so too are my parents!), and i don’t for a second forget that privilege is to thank for most, if not all of the opportunities i’ve had, and the life i have. also: i’m white, which adds to that privilege.
i’ll admit, i’m nervous to talk about this so openly. but i feel like not talking about it does you all a disservice. i respect you, and i think (hope) you respect me, and respect my honesty. it is an incredible achievement to buy a place in NYC, and not one i take lightly. i have a solid income and a solid job–and i still could not have saved up the kind of down payment i needed to buy my place without help.
 but back to allie’s place!
is it hard to be on the same page about budget? like i said above, my parents are, and have always been, incredibly generous. but i can’t lie – working through the budget with them has been tough at times. they prioritize different things than i do, financially, and while they have been amazing at letting me “do my thing” there have been more than a few conversations around what’s “worth the money” and what’s not. one thing that i think has saved us throughout this process (which has been a bit rocky at times) is the idea that the budget has been set from day 1. we had $4,000 to redesign an entire apartment: living room, dining room, bedroom. so long as i stayed within that budget, my parents and sister mostly let me decide what money went where.
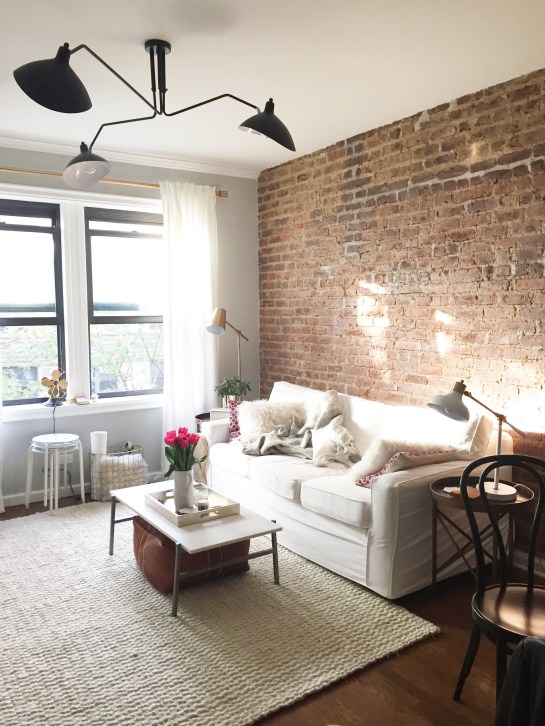
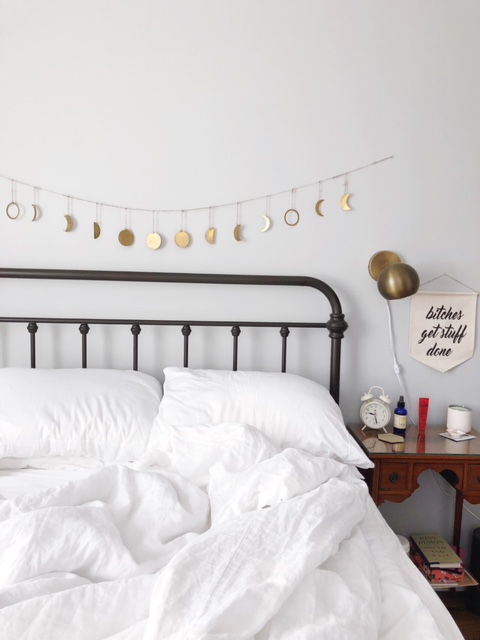
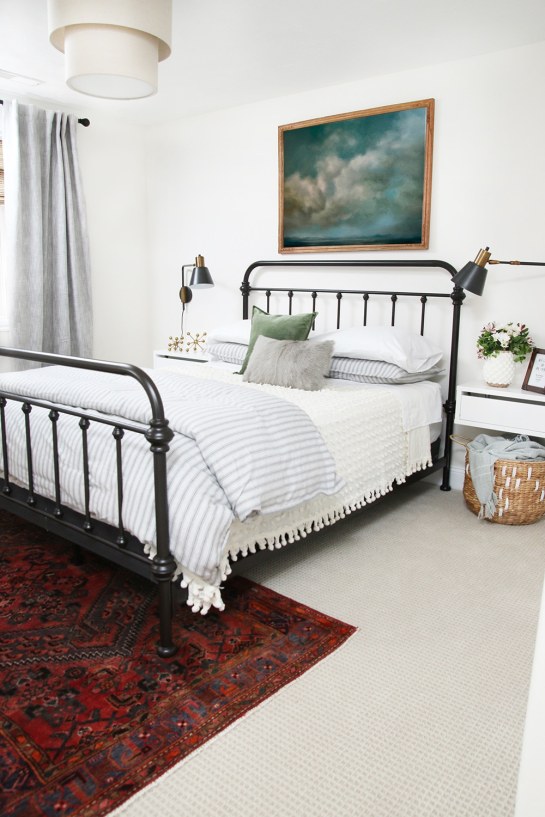
how do you design for smaller spaces/rooms that will serve multiple purposes? it remains to be seen if i will pull off doing this well, but because allie effectively lives her life within 3 rooms (as do i here in NYC!), those 3 rooms need to work REALLY hard. in talking with her about what she wanted for her home, a few things became clear: her bedroom needed to be a safe space, a haven that was, for the most part, just for sleeping, TV watching (though i discourage even this!), dressing, etc. allie has an (almost) full time job in IT, and has been working her way through her college degree while working, so her desk space is a) ginormous and b) very important to her. such a giant workspace wouldn’t fit in the bedroom, which, while not tiny, isn’t giant. that meant it had to go in one of two other places: the living room or the dining room. allie’s never had a true dining room, and one of her big requests for this redesign was a big table where she could host friends for game nights and dinners.
if you’re following this process of elimination, there’s only one area left for her workspace to go: the living room. that means carving out a (rather large) corner of the room in which she’ll hang out, host friends, and watch movies on her (ENORMOUS) tv for her workspace. that’s a lot of boxes for one room to check, don’t you think? so, how will we do it? that leads me to your next question.
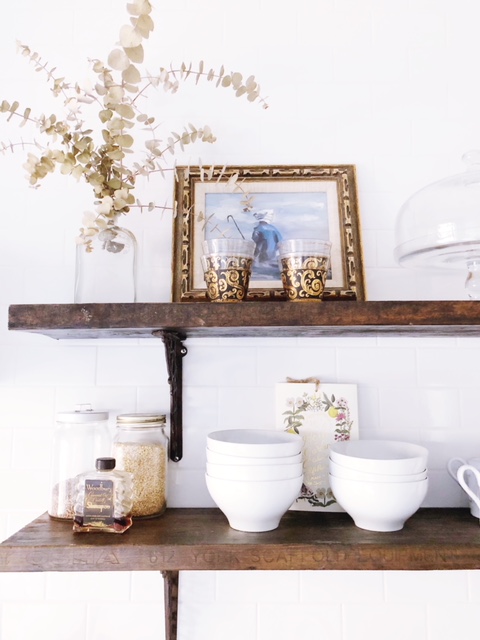
what will the ‘smart, simplified storage’ be? allie’s home has a few closets, but none of them were built out. if you’ve been following along on instagram, you know we built out a bunch of shelves in one of her bedroom closets. what i haven’t yet shared is that we’re also reorganizing a good-sized closet in her dining room. we’ve painted a pegboard that we’ll be hanging in there to organize her cleaning supplies (cleaning sprays, mops, swiffers, dusters, etc.)–which will help get stuff off the floor, and up on the wall. doing so leaves room on the floor for larger storage items (storage bins, etc.). we’ll also be “building up”: ordering a new (much taller!) bookshelf that will find its home in the dining room. then, in allie’s workspace, we’re eyeing new drawer storage (right now she just has old plastic storage, which a) doesn’t hold up all that well and b) looks super cluttered. i also plan to install a corkboard wall in her desk area to tack up things she needs to remember (calendars, notes, etc.), which will help get the clutter off her desk.
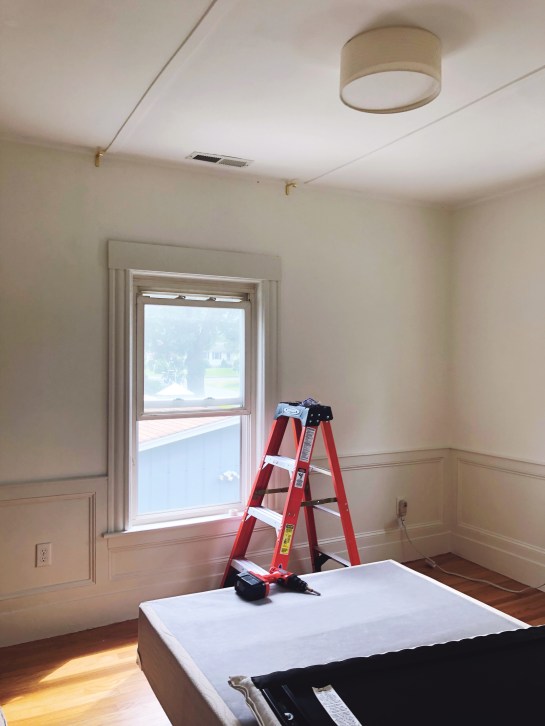
what type/brand of paint will you use? i’m admittedly not an expert in this, but happy to tell you what we used! we only repainted her bedroom, partially due to time and partially due to the fact that the grey walls in her living and dining area (which we painted when she moved in) are still in relatively good shape. in that room, we used benjamin moore swiss coffee on the wainscoting (a warm beige tone that appears grey in certain light) and went for a satin finish (just the tiniest) bit of sheen. on the walls, we used benjamin moore in simply white, and went for a matte finish. i used matte paint throughout my entire apartment here in NYC, and while it doesn’t wipe clean as easily, it hides imperfections way better than a glossier paint would (the old guard would’ve used eggshell for the walls, semi-gloss for the wainscoting). i’ve heard great things about other brands, like sherwin williams, dunn edwards, and obvi, farrow and ball (which i’m dying to use someday!), but my man ben moore has never let me down.
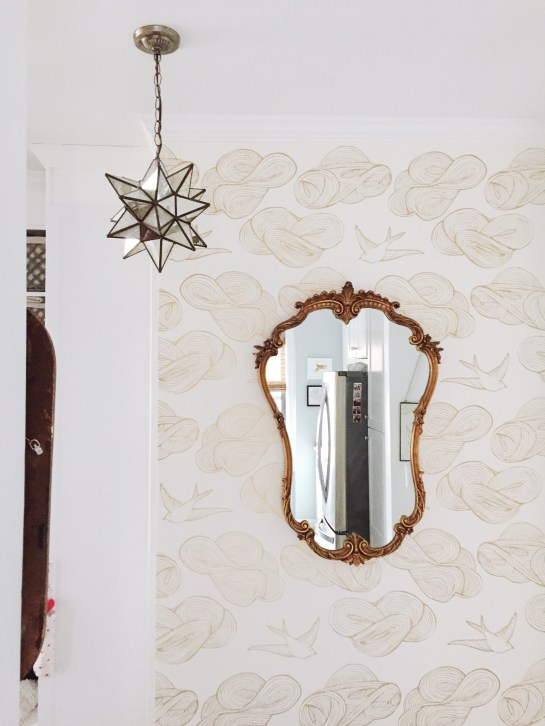
what is up with the ceiling tho?! this was my FAVE question, because honestly, guys, SAME. like i said above, this house was sort of renovated from its early 1900s roots over time, but not particularly well, and not particularly recently. that means that a few of the “updates” are, in not so many words, NOT CHIC. allie’s bedroom ceiling, while not beautiful, is relatively normal, but in the kitchen and dining areas (aka almost everywhere else), the ceiling has these weird office space-esque tiles that a) can’t support much weight and b) are very ugly. that said, as stated above, this is not a renovation, nor is it a project with an unlimited budget. so, we’re making the best of what we have, and trying to work with the space and money we’ve been given. my hope is that we’ll have so much good stuff “on the ground” that people won’t look up. but to all of you who sent me this question, I FEEL YOU.
ok, this feels like a good place to end. after all, i doubt any of you have read this far (shoutout to those who have! you are true champions!). if you have indeed made it to the end, and you have more questions, drop them in the comments below, or shoot me a message on instagram. i’ve loved interacting with you all throughout this project, and can’t wait to show you the finished result.